
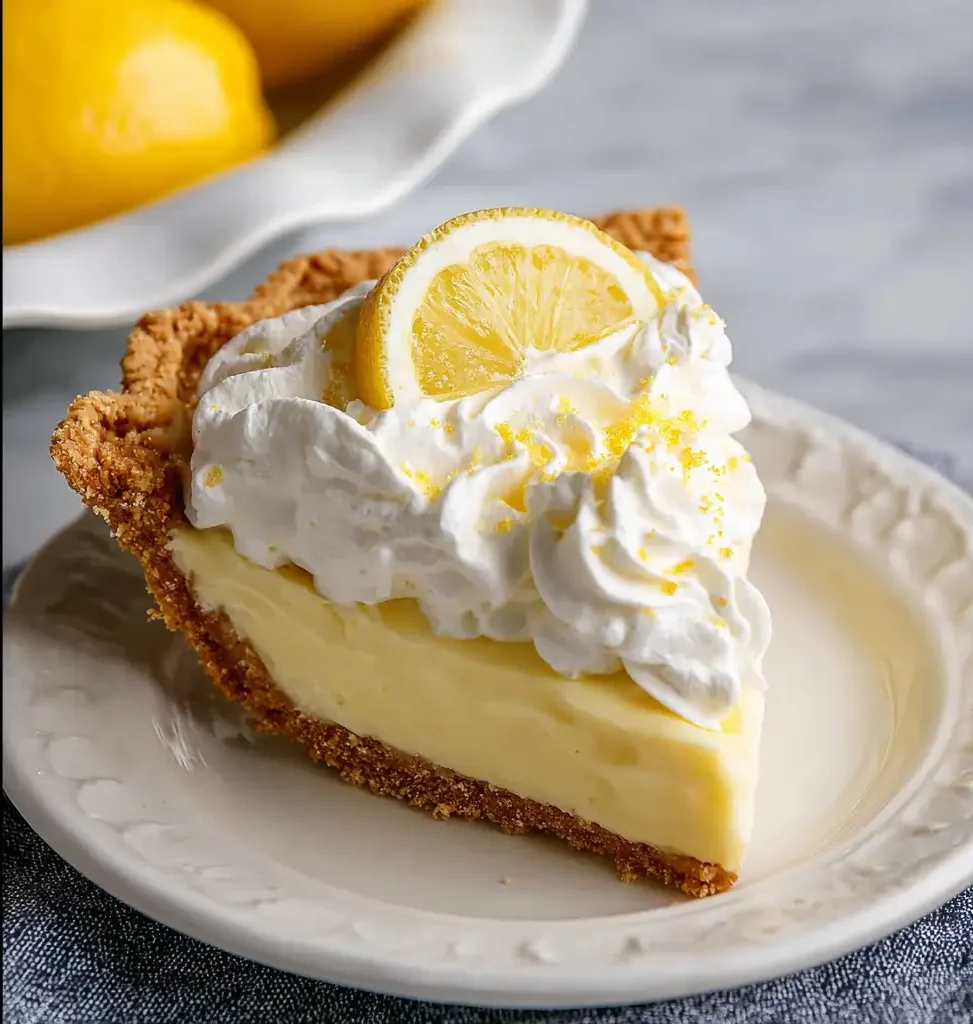
Bright, smooth, and quietly comforting, Lemon Cream Pie has a way of feeling both refreshing and familiar at the same time. It’s the kind of dessert that doesn’t need much decoration to stand out. One slice brings together a soft filling, a gentle citrus flavor, and a light topping that finishes everything just right.
This is a pie you can make when you want something that feels a little special but still fits easily into your day.
The Story & Emotional Connection
A memory tied to simple desserts
I’ve always had a soft spot for desserts that come together in one pan and don’t ask for too much attention. Lemon Cream Pie reminds me of those afternoons when the kitchen feels calm, and you’re just stirring something slowly on the stove.
There’s a moment when the filling thickens and turns smooth that feels especially satisfying. It’s subtle, but it’s the point where you know everything is coming together.
Why this recipe fits real life
This pie doesn’t rely on complicated steps or hard-to-find ingredients. It uses what you likely already have, and each part builds naturally into the next.
It’s a good choice when you want a dessert that feels homemade without adding stress to your schedule.
What Makes This Recipe Work
A gentle balance of flavors
The filling brings together sweetness, a light tang from the lemon, and a creamy finish from the sour cream. None of the flavors overpower each other. Instead, they settle into something smooth and well-rounded.
The whipped cream on top adds a soft contrast that keeps each bite light.
Steady and reliable
The process is straightforward. You cook, stir, temper, and chill. Each step has a clear purpose, and nothing feels rushed. Even if you’re new to making pies, this one feels manageable.
It’s the kind of recipe you can follow without second guessing yourself.
Making the Recipe at Home
Ingredients
- 1 9-inch pre-baked pie crust
- 1 cup granulated sugar
- 3 Tablespoon + 1 1/2 teaspoons cornstarch
- 1 cup milk
- 1/2 cup fresh lemon juice (about 2–3 lemons)
- 3 large egg yolks, lightly beaten
- 1/4 cup butter, softened
- Zest of one lemon, about 1/2 tablespoon
- 1 cup sour cream
Whipped Cream Topping:
- 1 cup heavy whipping cream
- 2–3 Tablespoons powdered sugar
Instructions
Make the lemon filling:
Crack the eggs into a small bowl, lightly beat them with a fork, and set aside.
In a large saucepan, combine the sugar and cornstarch. Whisk in the milk and fresh lemon juice. Cook over medium heat, stirring constantly, until the mixture becomes thick and starts to bubble.
Temper the eggs:
Lower the heat to medium-low. Take a spoonful of the hot mixture and stir it into the egg yolks. Repeat this a few times to gently warm the eggs. Then pour the egg mixture back into the saucepan and stir well.
Bring the mixture to a gentle boil and cook for another two minutes. Remove from heat.
Finish the filling:
Add the softened butter and lemon zest, stirring until the butter melts completely. Let the mixture cool slightly, then stir in the sour cream.
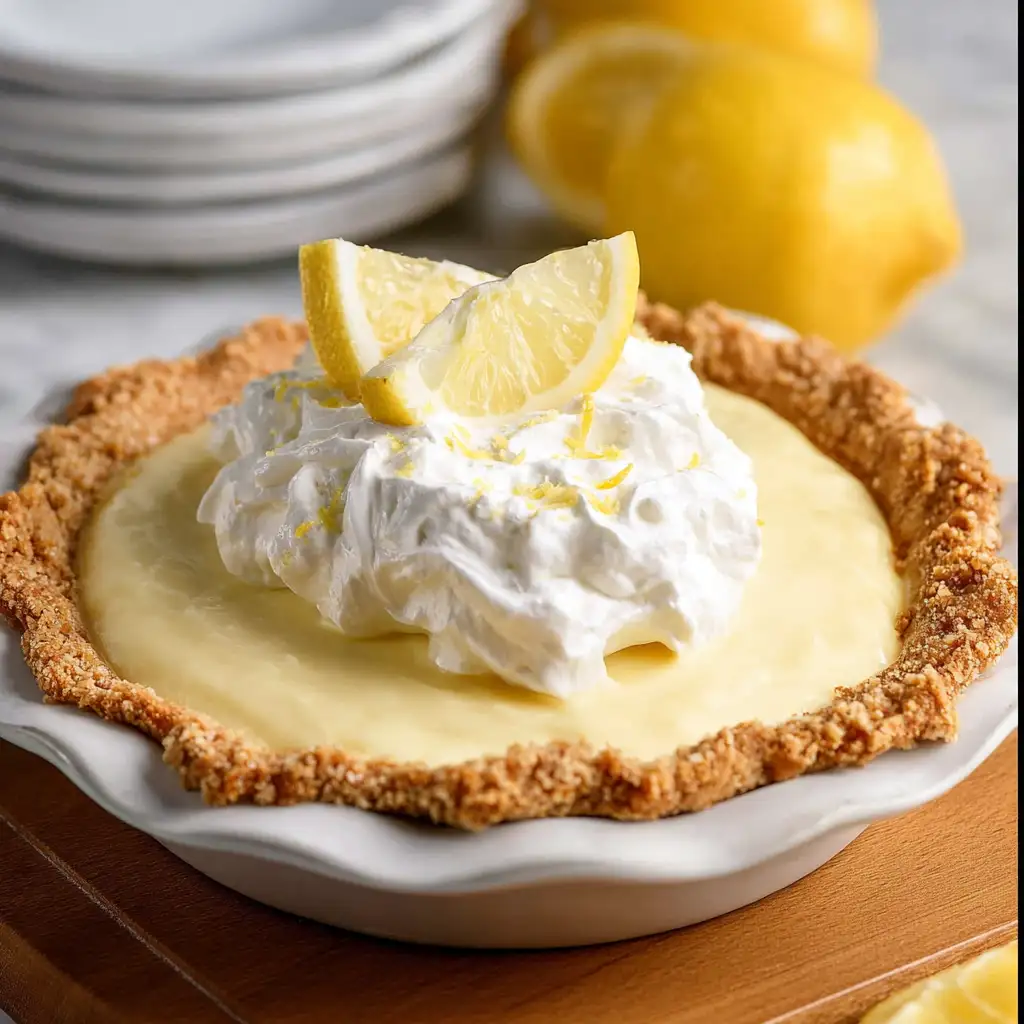
Pour the filling into the pre-baked pie crust. Cover the surface with plastic wrap or parchment paper and refrigerate for at least 3 hours.
Make the whipped cream topping:
In a mixing bowl, beat the heavy whipping cream with an electric mixer. Gradually add the powdered sugar while mixing. Continue until stiff peaks form.
Spread the whipped cream over the chilled pie before serving.
Helpful tips
Stir the filling constantly while cooking to keep it smooth and prevent it from sticking. The texture should turn thick and glossy before moving to the next step.
Tempering the eggs slowly helps keep the filling silky instead of grainy.
Common mistakes to avoid
Adding the eggs too quickly without tempering can cause them to cook unevenly. Take your time with this step.
Skipping the chill time can leave the pie too soft to slice cleanly. Let it set fully in the refrigerator.
Adapting the Recipe
Simple variations
You can adjust the sweetness of the whipped cream by using a little more or less powdered sugar, depending on your preference.
A slightly thicker or thinner layer of whipped cream also changes the overall feel of each slice.
Different situations
This pie works well for gatherings because it can be made ahead and chilled until needed. It also holds its shape nicely when sliced, which makes serving easier.
For smaller occasions, you can prepare it the same way and enjoy it over a couple of days.
Serving & Enjoyment
Serve this pie chilled for the best texture and flavor. The filling stays smooth, and the whipped cream feels light against it.
It fits well after a meal or as a quiet afternoon dessert with a cup of something warm.
Storage & Leftovers
Keep the pie refrigerated, covered, to maintain its texture. It stays fresh for a couple of days, though the whipped cream is best shortly after adding.
If needed, you can add the topping just before serving for a fresher finish.
FAQ
Can I make this pie ahead of time?
Yes, it’s actually better when made in advance so it has time to fully set in the refrigerator.
Why do I need to temper the eggs?
Tempering gently warms the eggs so they blend smoothly into the filling without cooking too quickly.
Can I use bottled lemon juice?
Fresh lemon juice is recommended for a cleaner, brighter flavor.
How do I know when the filling is thick enough?
It should coat the back of a spoon and hold its shape when stirred.
Conclusion
Lemon Cream Pie brings together simple ingredients in a way that feels calm and satisfying. It doesn’t require much beyond a little time and attention, yet the result feels complete and comforting.
It’s the kind of dessert that quietly earns its place at the table, slice by slice.
Lemon Sour Cream Pie
Ingredients
Equipment
Method
- Lemon Filling: Crack eggs in a small bowl, beat slightly with a fork and set aside. In a large saucepan combine sugar and cornstarch. Whisk in milk and fresh lemon juice. Cook over medium heat, stirring constantly, until mixture is thick and bubbling.
- Temper Eggs: Reduce heat to medium-low. Add a spoonful of the hot filling into the bowl with beaten egg yolks and stir well. Repeat this process with two or three more spoonfuls of the hot mixture added to the egg yolks, to temper the eggs (warm them up so they don’t scramble when added to the pot). Add egg mixture into the saucepan and stir well. Bring mixture to a gentle boil then cook for two more minutes. Remove from heat.
- Finish Filling: Add softened butter and lemon zest and stir until butter melts completely. Allow mixture to cool for a few minutes, then stir in sour cream. Add filling to baked pie shell. place a piece of plastic wrap or parchment paper over the pie and refrigerate for at least 3 hours before serving.
- Whipped Cream Topping: In a mixing bowl, beat heavy whipping cream with an electric mixer. While beating, gradually add sugar. Continue beating until stiff peaks form. Spread whipped cream over cooled pie filling.
Notes
Calories: 261kcal | Carbohydrates: 33g | Protein: 5g | Fat: 12g | Saturated Fat: 6g | Polyunsaturated Fat: 1g | Monounsaturated Fat: 4g | Trans Fat: 0.2g | Cholesterol: 66mg | Sodium: 127mg | Potassium: 114mg | Fiber: 0.5g | Sugar: 21g | Vitamin A: 285IU | Vitamin C: 4mg | Calcium: 76mg | Iron: 1mg