
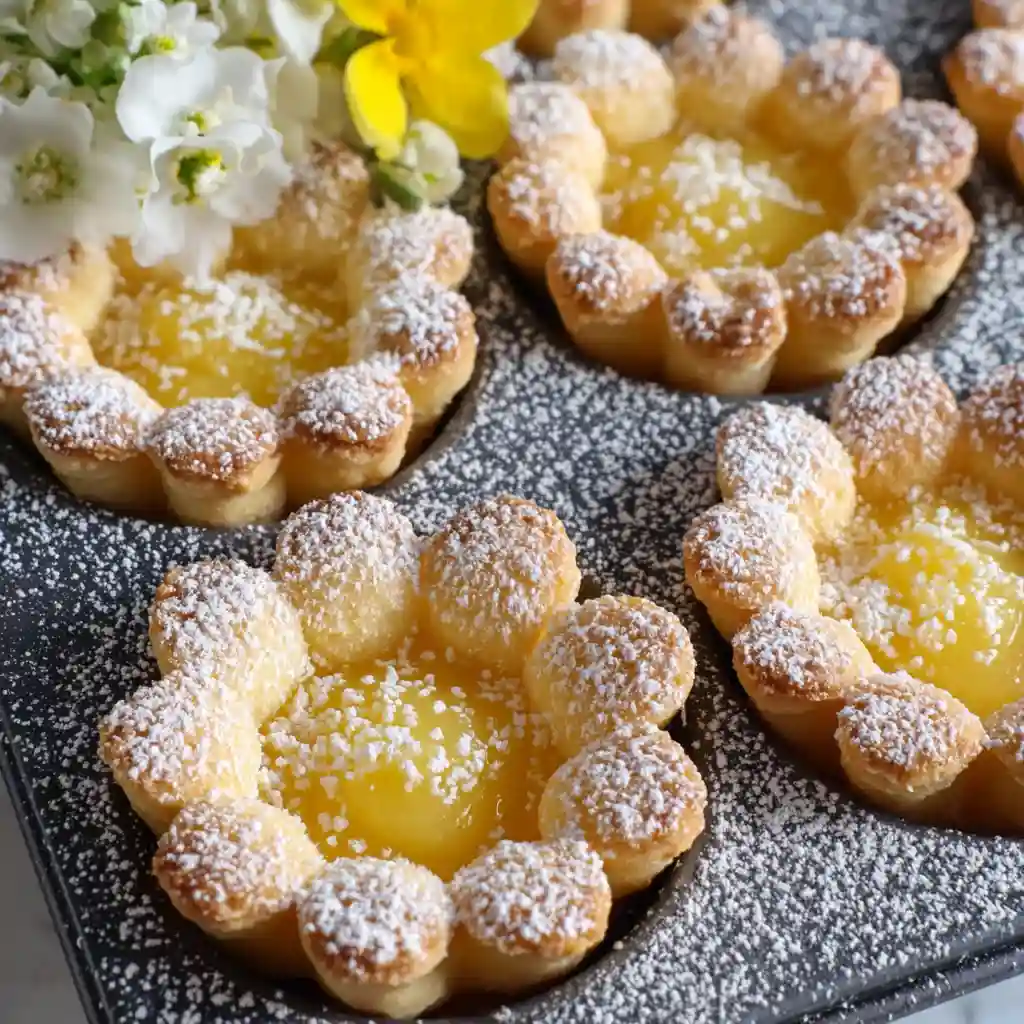
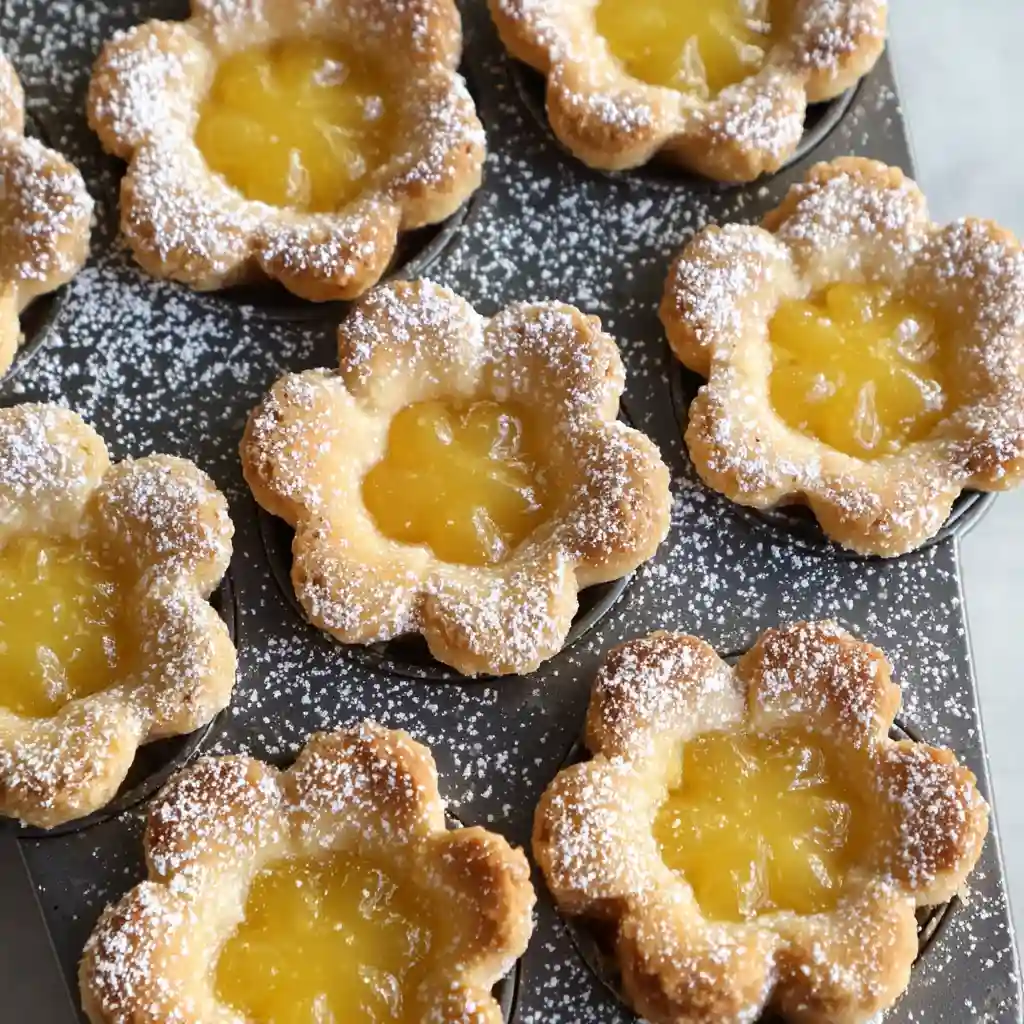
Sometimes the simplest desserts end up being the ones people notice first. Mini Flower Lemon Tarts have a soft, delicate look with their petal-shaped crust and bright lemon filling. They feel light, cheerful, and easy to put together without much effort.
These little tarts are perfect when you want something that looks thoughtful but doesn’t require a long time in the kitchen.
The Story & Emotional Connection
A small detail that makes a difference
The first time I used a flower-shaped cutter for something like this, it changed the whole feel of the dessert. The shape alone made it feel more special, even though the steps stayed simple.
There’s something satisfying about pressing each piece into the pan and seeing those little flowers take shape.
Why this recipe fits real life
This recipe leans on a few ready-made ingredients, which makes it approachable on a busy day. You don’t have to prepare dough from scratch or cook a filling on the stove.
It’s a good option when you want a homemade touch without spending too much time.
What Makes This Recipe Work
A simple but balanced combination
The pie crust bakes into a lightly crisp shell that holds the smooth lemon curd. The filling brings a bright flavor that contrasts nicely with the mild crust.
A light dusting of powdered sugar at the end adds just enough sweetness without taking over.
Low effort, reliable results
Because the crust and filling are already prepared, the process becomes more about assembling than cooking. That makes it easier to get consistent results every time.
It’s a recipe you can rely on when you don’t want surprises.
Making the Recipe at Home
Ingredients
- 1 (14.1 oz) box Pillsbury premade refrigerated pie crust (box comes with 2 pie crusts)
- 1 (12.7 oz) jar Bonne Maman lemon curd
- 3 tbsp powdered sugar
Instructions
Preheat the oven to 375°F.
On a cutting board, roll out the pie dough. Use a flower-shaped cookie cutter to cut out as many shapes as possible.
Grease a mini muffin pan. Press each flower-shaped piece of dough into every other muffin cup, flattening it gently along the bottom. Use a fork to poke a few holes in the base of each to prevent puffing.
Bake for 10–12 minutes, until the crust is lightly golden.
Remove from the oven and allow the shells to cool completely.
Spoon a heaping tablespoon of lemon curd into each tart shell.
Place the pan in the freezer for 30 minutes or refrigerate for at least 1 hour to allow the filling to set.
Remove just before serving and lightly sprinkle with powdered sugar, if desired.
Helpful tips
Press the dough evenly so the base stays flat and holds the filling well.
Piercing the dough with a fork helps keep the crust from puffing up too much while baking.
Common mistakes to avoid
Filling the shells before they’ve cooled can cause the curd to soften too much. Let them cool completely first.
Skipping the chilling step can make the filling too loose when serving.
Adapting the Recipe
Simple variations
You can adjust how much lemon curd you add depending on how full you want each tart.
If you prefer a lighter finish, you can skip the powdered sugar or add just a small dusting.
Different situations
These tarts are great for gatherings because they’re easy to pick up and serve. You can also prepare them ahead and chill until needed.
For smaller batches, you can use fewer crust cutouts and store the rest for later.
Serving & Enjoyment
Serve these tarts chilled so the filling holds its shape. The combination of the crisp crust and smooth lemon center feels especially nice when cool.
They work well for spring gatherings, light desserts, or even as a small treat alongside coffee or tea.
Storage & Leftovers
Store the tarts in the refrigerator to keep the filling set. They’re best enjoyed within a day or two for the best texture.
Keep them covered so the crust doesn’t dry out.
FAQ
Can I make these ahead of time?
Yes, you can prepare them in advance and keep them chilled until serving.
Why do I need to poke holes in the crust?
This helps prevent the dough from puffing up too much while baking.
Can I freeze them instead of refrigerating?
You can freeze briefly to help the filling set, but long storage is better in the refrigerator.
How do I keep the crust from getting soggy?
Let the shells cool completely before adding the filling and store them chilled.
Conclusion
Mini Flower Lemon Tarts show how a simple idea can turn into something that feels thoughtful and complete. With just a few steps, you end up with a dessert that looks delicate and tastes bright.
It’s the kind of recipe that fits easily into your day while still bringing something a little special to the table.
Mini Flower Lemon Tarts
Ingredients
Equipment
Method
- Preheat the oven to 375F.
- On a cutting board, roll out dough.
- With a flower cookie cutter, cut out flower shapes.
- To create flat mini pie crusts, grease a mini muffin pan. Press dough evenly into the bottom of every other muffin cup making sure it is flat on the bottom. Use a fork to pierce the dough on the bottom of the flowers base a few times.
- Bake in the oven for 10-12 minutes or until the dough is slightly golden brown.
- Let baking shells cool completely before filling.
- Add a heaping tablespoon of lemon curd into each pie crust.
- Freeze for 30 minutes or refrigerate for at least 1 hour, allowing the lemon curd to set. I left my lemon tarts in the mini baking pan while they set.
- Remove from the cooler right before serving and sprinkle with powdered sugar (optional).