
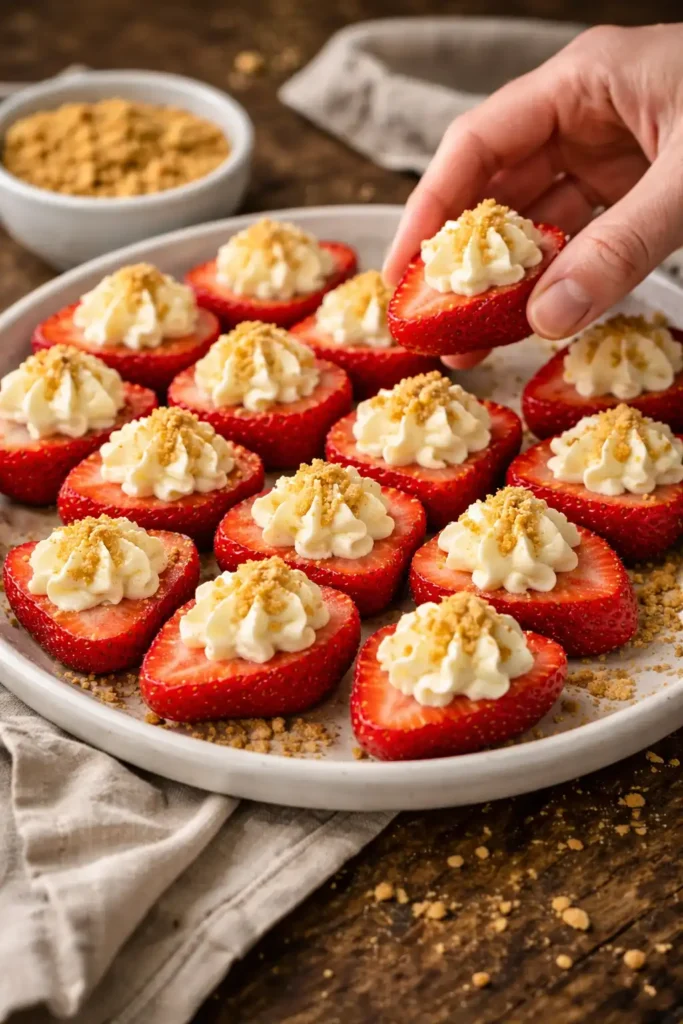
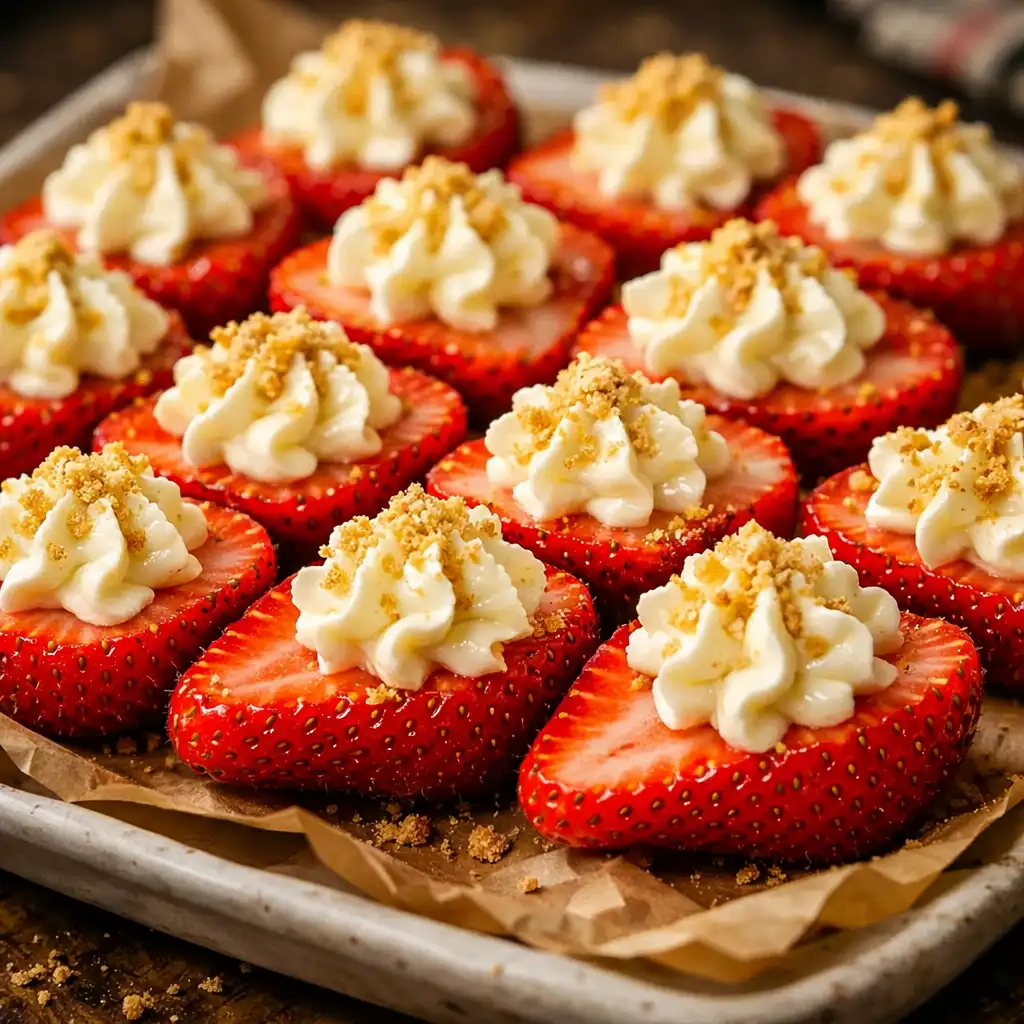
Who says deviled treats are just for eggs? Deviled Strawberries take that familiar name and flip it into something completely sweet fresh strawberries filled with a creamy, cheesecake-style filling and topped with a light dusting of graham cracker crumbs. They’re eye-catching, two-bite treats that are as easy to make as they are to eat.
These make a perfect addition to brunch tables, bridal showers, Valentine’s Day desserts, or any time you want to dress up fruit in something a little more fun.
What Are Deviled Strawberries?
Think of these as the dessert version of deviled eggs — but instead of egg whites, you’re working with halved strawberries. Instead of yolk filling, there’s a smooth whipped mixture of cream cheese, vanilla, sugar, and whipped cream. The final sprinkle of graham cracker crumbs adds just enough texture and a little cheesecake vibe.
It’s a no-bake recipe that looks fancy but takes less than 30 minutes to throw together no oven, no cooking, just simple prep.
Ingredients You’ll Need
- 18–24 large fresh strawberries
- 1 cup heavy whipping cream
- 8 oz cream cheese, softened
- 1/3 cup sour cream
- 2/3 cup white sugar
- 1 tsp vanilla extract
- 1 tbsp lemon juice (optional, but brightens the flavor)
- 1/2 cup graham cracker crumbs
How to Make Deviled Strawberries
1. Prep the Strawberries
Wash and dry your strawberries well. Slice off the stems, then cut each strawberry in half lengthwise. To help them stand upright, slice a small sliver off the bottom of each half. Using a melon baller or small spoon, scoop out a small cavity from the center — just enough for the filling to sit neatly.
2. Whip the Cream
In a chilled bowl, beat the heavy cream until stiff peaks form. This should take about 4–5 minutes using an electric mixer.
3. Make the Filling
In another bowl, blend the softened cream cheese, sour cream, sugar, vanilla, and lemon juice (if using) until smooth and creamy. Gently fold in the whipped cream until fully combined.
4. Pipe and Fill
Transfer the cream mixture to a piping bag with a decorative tip (a star tip looks especially nice). Pipe a generous swirl into each strawberry half.
5. Add the Final Touch
Sprinkle each filled strawberry with graham cracker crumbs. Serve immediately or refrigerate until ready.
Tips for Success
- Use ripe but firm strawberries so they hold their shape.
- Chill the cream and bowl before whipping for better texture.
- Don’t overfill — a small swirl is enough, and it helps keep things tidy.
- If you don’t have a piping bag, you can use a plastic zip-top bag with the corner snipped off.
Make-Ahead Advice
- The filling can be made the day before and stored in the fridge. Just give it a quick stir before piping.
- The strawberries can also be prepped a day ahead. Store them in an airtight container lined with a paper towel to avoid sogginess or that “fridge flavor.”
- Assemble right before serving for best texture and presentation.
Variations to Try
- Swap graham cracker crumbs for crushed cookies like vanilla wafers or Biscoff.
- Add a spoonful of melted chocolate to the filling for a richer flavor.
- Mix in lemon or orange zest to brighten the flavor naturally.
- Make it low carb by using a sugar substitute and skipping the crumbs.
Serving Ideas
Deviled strawberries are perfect for:
- Holiday platters
- Baby or bridal showers
- Brunch spreads
- Dessert boards
- Date nights
- Or just… snack o’clock
They’re easy to grab, fun to look at, and even better to eat.
Frequently Asked Questions
Can I make these ahead of time?
You can prep the components a day ahead, but it’s best to fill the strawberries shortly before serving to keep them looking and tasting their best.
How many does this recipe make?
It depends on the size of your strawberries, but you’ll usually get 36–48 halves (18–24 whole berries).
What’s the best way to fill them if I don’t have piping tools?
A plastic sandwich bag with the corner cut off works just fine. You’ll still get a nice swirl if you take it slow.
Can I freeze deviled strawberries?
Not recommended. Strawberries tend to lose their texture when frozen and thawed. This recipe is best enjoyed fresh.
Final Thoughts
Deviled Strawberries are proof that fruit can absolutely be dessert-worthy. Light, creamy, and just sweet enough, they’re a fun and simple way to impress without turning on the oven. Whether you make a batch for a party or keep a few chilled just for you, they’re a little reminder that good things really can come in small, sweet packages.
Deviled Strawberries
Ingredients
Method
- Prep the strawberries by cutting off the stems and slicing them in half. Next, cut a small sliver off of the back of each strawberry half so that they sit up straight. Use a small melon baller to carefully hollow out the middle (you don’t need to take out much, just make a small enough indent so that the cream cheese filling doesn’t slide off). *Pictorial Above *
- In a medium sized mixing bowl, beat the whipping cream until stiff peaks form (about 5 minutes).
- In a separate bowl, mix together the softened cream cheese, sour cream, sugar, vanilla extract, and lemon juice with an electric mixer until smooth.
- Fold the whipped cream into the cream cheese mixture until well incorporated.
- Fill a piping bag with the cream cheese mixture (I used a star tip), and pipe it onto each sliced strawberry.
- Finish with a sprinkle of graham cracker crumbs.
- Serve and enjoy!
Notes
- Want to make them low carb? Use a low carb sweetener in place of the sugar and omit the graham crackers.
- The number of strawberries you need to match the amount of cream cheese mixture really depends on the size of the strawberries. I bought a large container of medium sized strawberries from Costco, and still ended up with a bit of leftover cream cheese mixture. I had no idea what to do with it, so I just ate it all in one sitting.
- You CAN make the cream cheese mixture (including whipped cream) the day before. My leftovers were the perfect consistency the next day (again, I may or may not have been eating it with a spoon).
- The strawberries can also be cut and prepped the day before, just be sure to place them in an air tight container with a paper towel so that they don’t get soggy or end up with that weird refrigerator taste.