
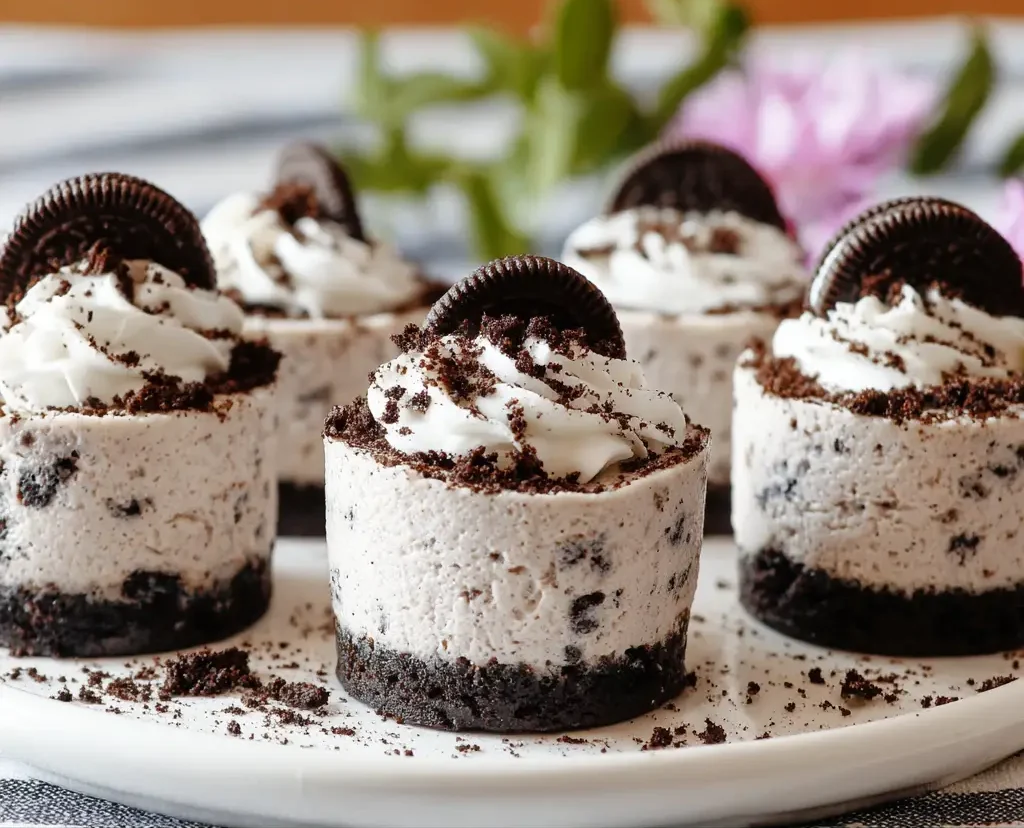
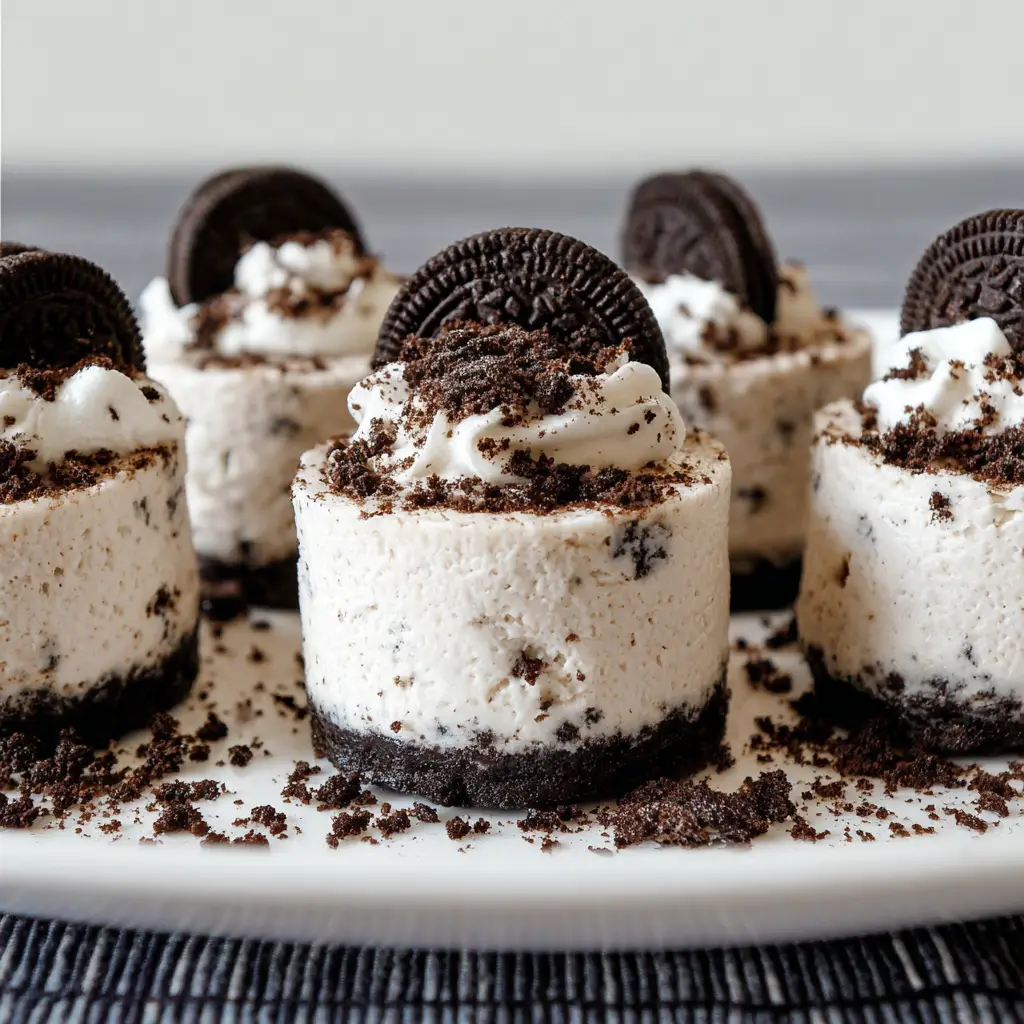
Creamy, chilled, and full of cookies-and-cream flavor, these mini no-bake Oreo cheesecakes are perfect for when you want a rich dessert without turning on the oven. Each one is layered with a chocolate cookie crust and a smooth cheesecake filling — all topped with a swirl of cream and extra Oreo crunch.
Overview
| Category | Details |
|---|---|
| Yield | 6–8 mini cheesecakes |
| Difficulty | Easy |
| Chill Time | 4+ hours (no baking required) |
| Texture | Creamy, soft, cookie-crunchy |
| Best For | Summer treats, parties, anytime cravings |
Ingredients
For the Oreo Base
- 150g Oreo cookies (about 14 cookies)
- 50g dairy-free butter or margarine
For the Cheesecake Filling
- 260g dairy-free whipping cream
- 160g dairy-free cream cheese
- 8 Oreo cookies, crushed
For the Topping
- 20g dairy-free whipping cream
- 4 Oreo cookies (2 crushed, 2 halved for garnish)
Equipment
- Food processor or blender
- Mixing bowls
- Electric hand mixer or stand mixer
- Spatula
- Piping bags (optional)
- Muffin tin or mini cheesecake molds
- Offset spatula (for smoothing)
Step-by-Step Instructions
1. Prepare the Oreo Crust
- Melt the dairy-free butter over low heat, then remove from the stove.
- Crush the Oreo cookies into fine crumbs using a food processor or place them in a sealed bag and roll with a rolling pin.
- Combine cookie crumbs with melted butter in a bowl. Mix until the texture resembles wet sand.
- Press the mixture firmly into the bottoms of your mini molds or lined muffin tin cups. Use clean hands or the back of a spoon to compact the crust well.
- Place in the freezer to chill while you make the filling.
2. Make the Cheesecake Filling
- In a medium mixing bowl, whip the dairy-free whipping cream and cream cheese together. Start on low speed to avoid splashing, then increase to high.
- Beat until the mixture is thick and holds soft peaks — about 5 minutes.
- Crush 8 Oreo cookies and fold them into the cheesecake mixture. Mix until well combined.
- Spoon or pipe the filling into each chilled crust. Level the tops using an offset spatula or the back of a spoon.
- Return to the freezer for at least 4 hours, or until the cheesecakes are firm.
3. Add the Whipped Cream Topping
- Once the cheesecakes are set, whip the remaining cream until thick.
- Pipe a swirl of cream on top of each cheesecake.
- Garnish with crumbled Oreo cookies and half an Oreo on each mini cheesecake.
Tips for Best Results
- Use a sturdy muffin tin or mini cheesecake mold. Removable bottoms or silicone liners help with clean release.
- Don’t rush the chill time. The cheesecakes must be fully set before removing them from the tin.
- Press the base firmly. A tightly packed crust is less likely to crumble when unmolding.
- Chill before serving. Let the cheesecakes sit in the fridge for 10–15 minutes after coming out of the freezer for the best texture.
Storage Instructions
- Fridge: Store in an airtight container for up to 2 days.
- Freezer: For longer storage, freeze the cheesecakes and thaw in the fridge before serving. Do not refreeze once thawed.
Common Questions
Do I have to use dairy-free ingredients?
No. This recipe works well with standard whipping cream and cream cheese too. Use equal amounts.
Can I skip the whipping cream topping?
Yes. It’s for garnish and added texture, but the cheesecakes are still delicious without it.
Can I make these in advance?
Definitely. Prepare and freeze up to two days ahead. Add toppings just before serving.
What’s the best dairy-free cream cheese to use?
Look for brands with a smooth, neutral flavor. Options like Violife or supermarket plant-based spreads work well.
Final Notes
These Mini No-Bake Oreo Cheesecakes are simple to make but feel like something special. Each bite has a cool, creamy texture and that classic cookies-and-cream flavor everyone loves. Keep them on hand for warmer days, birthday parties, or any time you want dessert without the effort of baking.
They’re a small treat with big payoff no oven, no stress, all flavor.
Mini No-Bake Oreo Cheesecakes
Ingredients
Method
- Method (base)
- Add the dairy-free butter / margarine into a small saucepan, place on the hob and heat over low until fully melted. Remove from the heat and add into a medium sized, heat proof mixing bowl.
- Add the Oreo cookies into a blender / food processor and blend until fine. Pour the cookie crumbs into the melted butter and stir together using a wooden spoon or spatula. It should resemble wet sand, and when you press it between your fingers, should hold its shape. Press some of the mixture into each cookie cup tin, making sure to compact it in using clean hands (see notes*). The more compact it is, the less likely it will crumble. Place into the freezer whilst you make the filling.
- Method (cheesecake filling)
- In a medium sized bowl, add in the dairy-free whipping cream and cream cheese. Whip on low speed first to prevent it splashing out the bowl, then turn to high speed. Whip until thick. This will take around 5 minutes. I use a stand mixer with a balloon whisk attachment, but a hand whisk will work great too! The mixture should be thick and creamy.
- Place the Oreo cookies into a blender and whizz up until fine. Pour in the cookies and whip to combine.
- Transfer the cheesecake filling into a piping bag fitted with a large round tip nozzle (or snip off the tip of a piping bag).
- Pipe the cheesecake filling evenly into each cookie cup. Level off the top with an off set spatula (watch me make these cheesecakes here).
- Place into the freezer for 4 hours or until firm to the touch. If you have push up tins, push up the bases of the cookie cup tin to release the cheesecakes. If the cheesecakes haven’t set firm, they won’t come out the tin neatly.
- Once firm, I like to pop them into the fridge to defrost slightly while making the whip cream swirl.
- Place the whipping cream into a bowl and whip up on high until thick. I use a stand mixer with balloon whisk attachment.
- Transfer the cream into a piping bag fitted with a open star tip nozzle. Pipe a swirl of cream on top of each cheesecake.
- Decorate with half an Oreo each and some crumbles cookies. Enjoy!